Row 4.) Pick up 1 seed bead, one 4 mm bead, 1 seed bead, one 4mm bead and 1 seed bead (this first group will be the only one that has 3 seed beads and two 4mm beads in it). See photo # 21.
Go back through your 6 mm bead and then through the 6mm bead next to it. See photo #22.
Pick up 1 seed bead, one 4 mm bead and 1 seed bead. Pass needle down through the 4mm bead and the seed bead below it on the previous group made. See photo #23
Now go back through the 6 mm bead that you just exited and continue through the 6mm bead next to it. Again pick up 1 seed bead, one 4 mm bead and 1 seed. Pass needle down through the 4mm bead and the seed bead like you did in photo #23 and then back through the 6 mm bead and on through the next 6 mm bead.
Repeat this pattern around row 4 until you reach the 8th and final 6mm bead, pass needle through this bead. Photo #26 is bottom of bead so it appears that needle is going through bead from right to left but if the bead is flipped over, the needle would really be going from left to right.
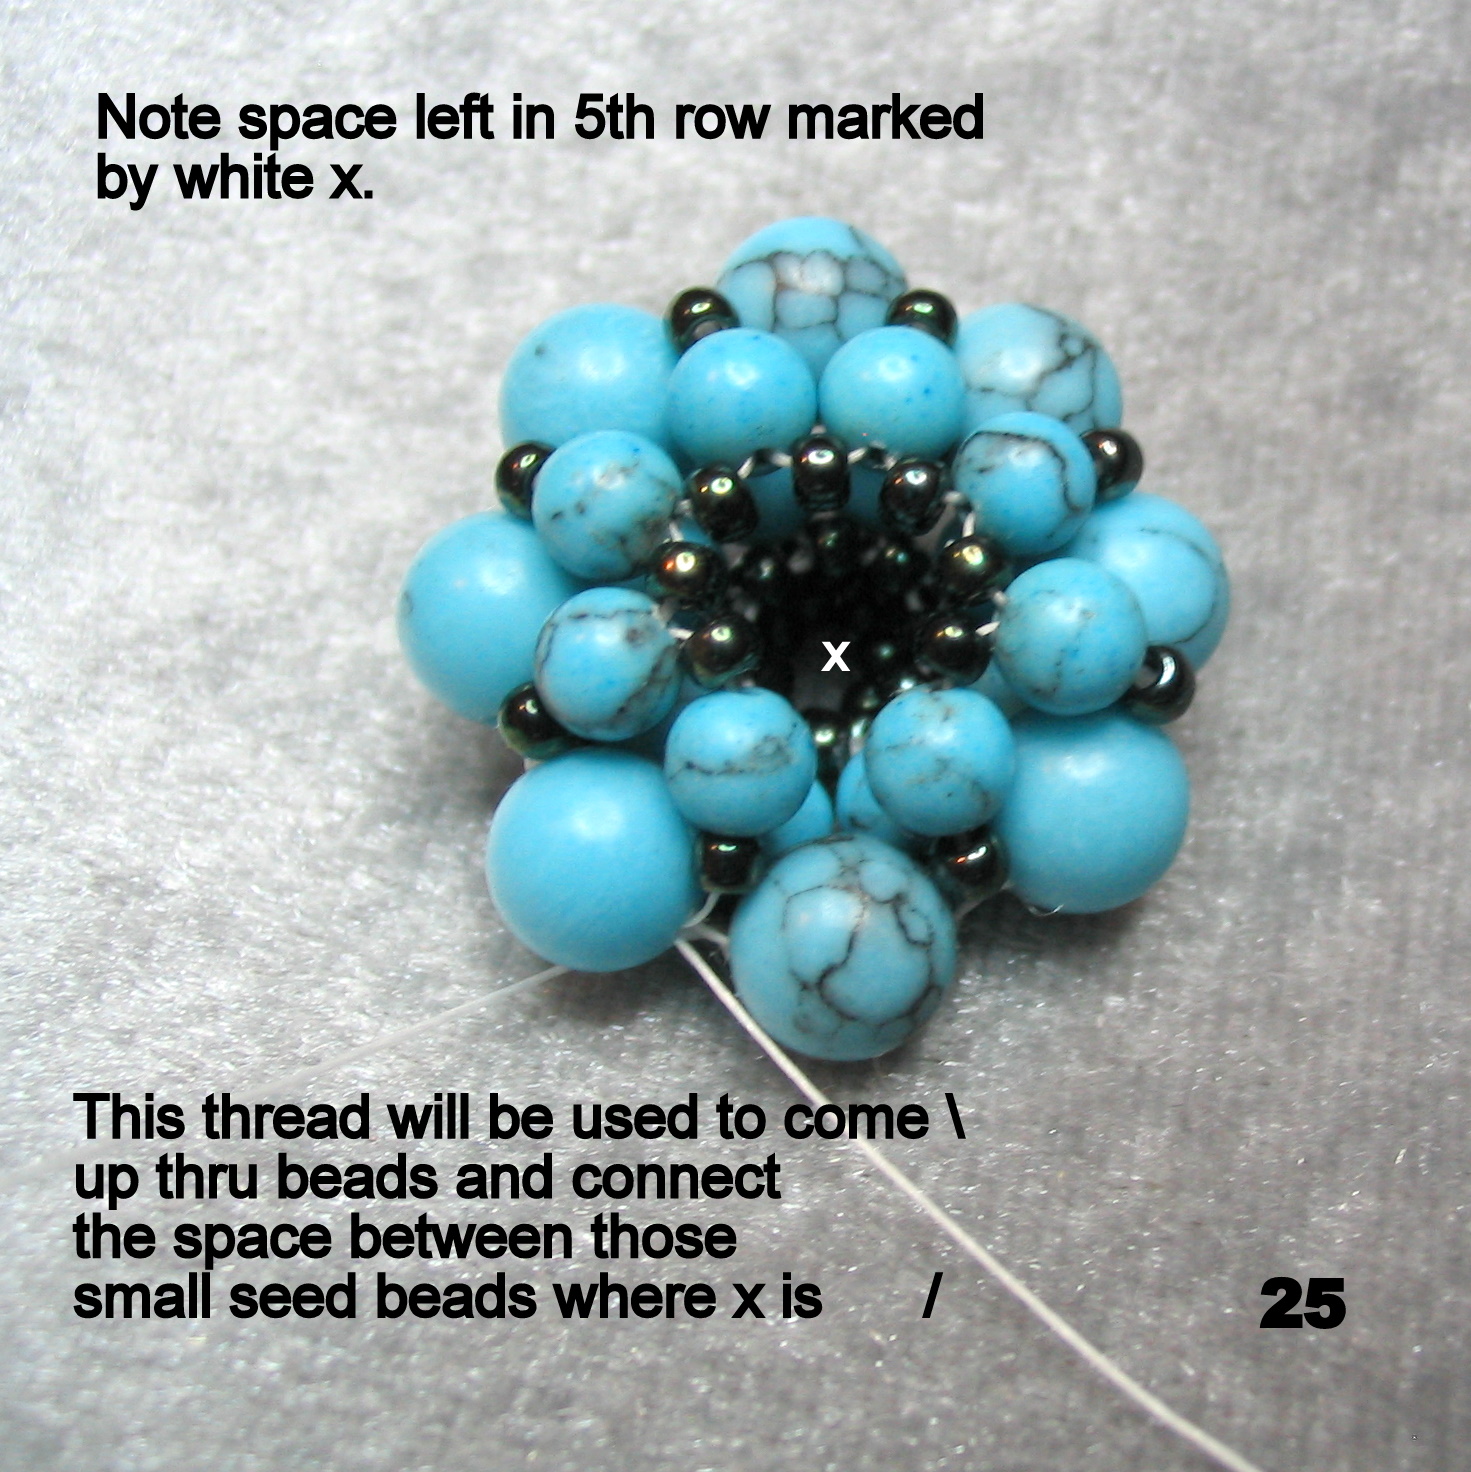
At this point you will notice that you have a seed bead followed by a 4mm bead on each side of this last 6mm bead therefore you do not have to add these beads (see photo # 25).
Pass needle through the seed bead and 4 mm bead that are a part of the 1st group made, now pick up 1 seed bead and go down through the 4mm bead and seed bead made in the last group ( this seed bead connects this row and completes this pattern). Photo 27a shows the tip of the needle as gold colored and lets you know the direction of needle through these beads.
Photo # 27 b shows bead from bottom view, note again that needle direction is reversed when viewing from this perspective.
Pass needle once again through the 6mm bead (Photo # 27 above )
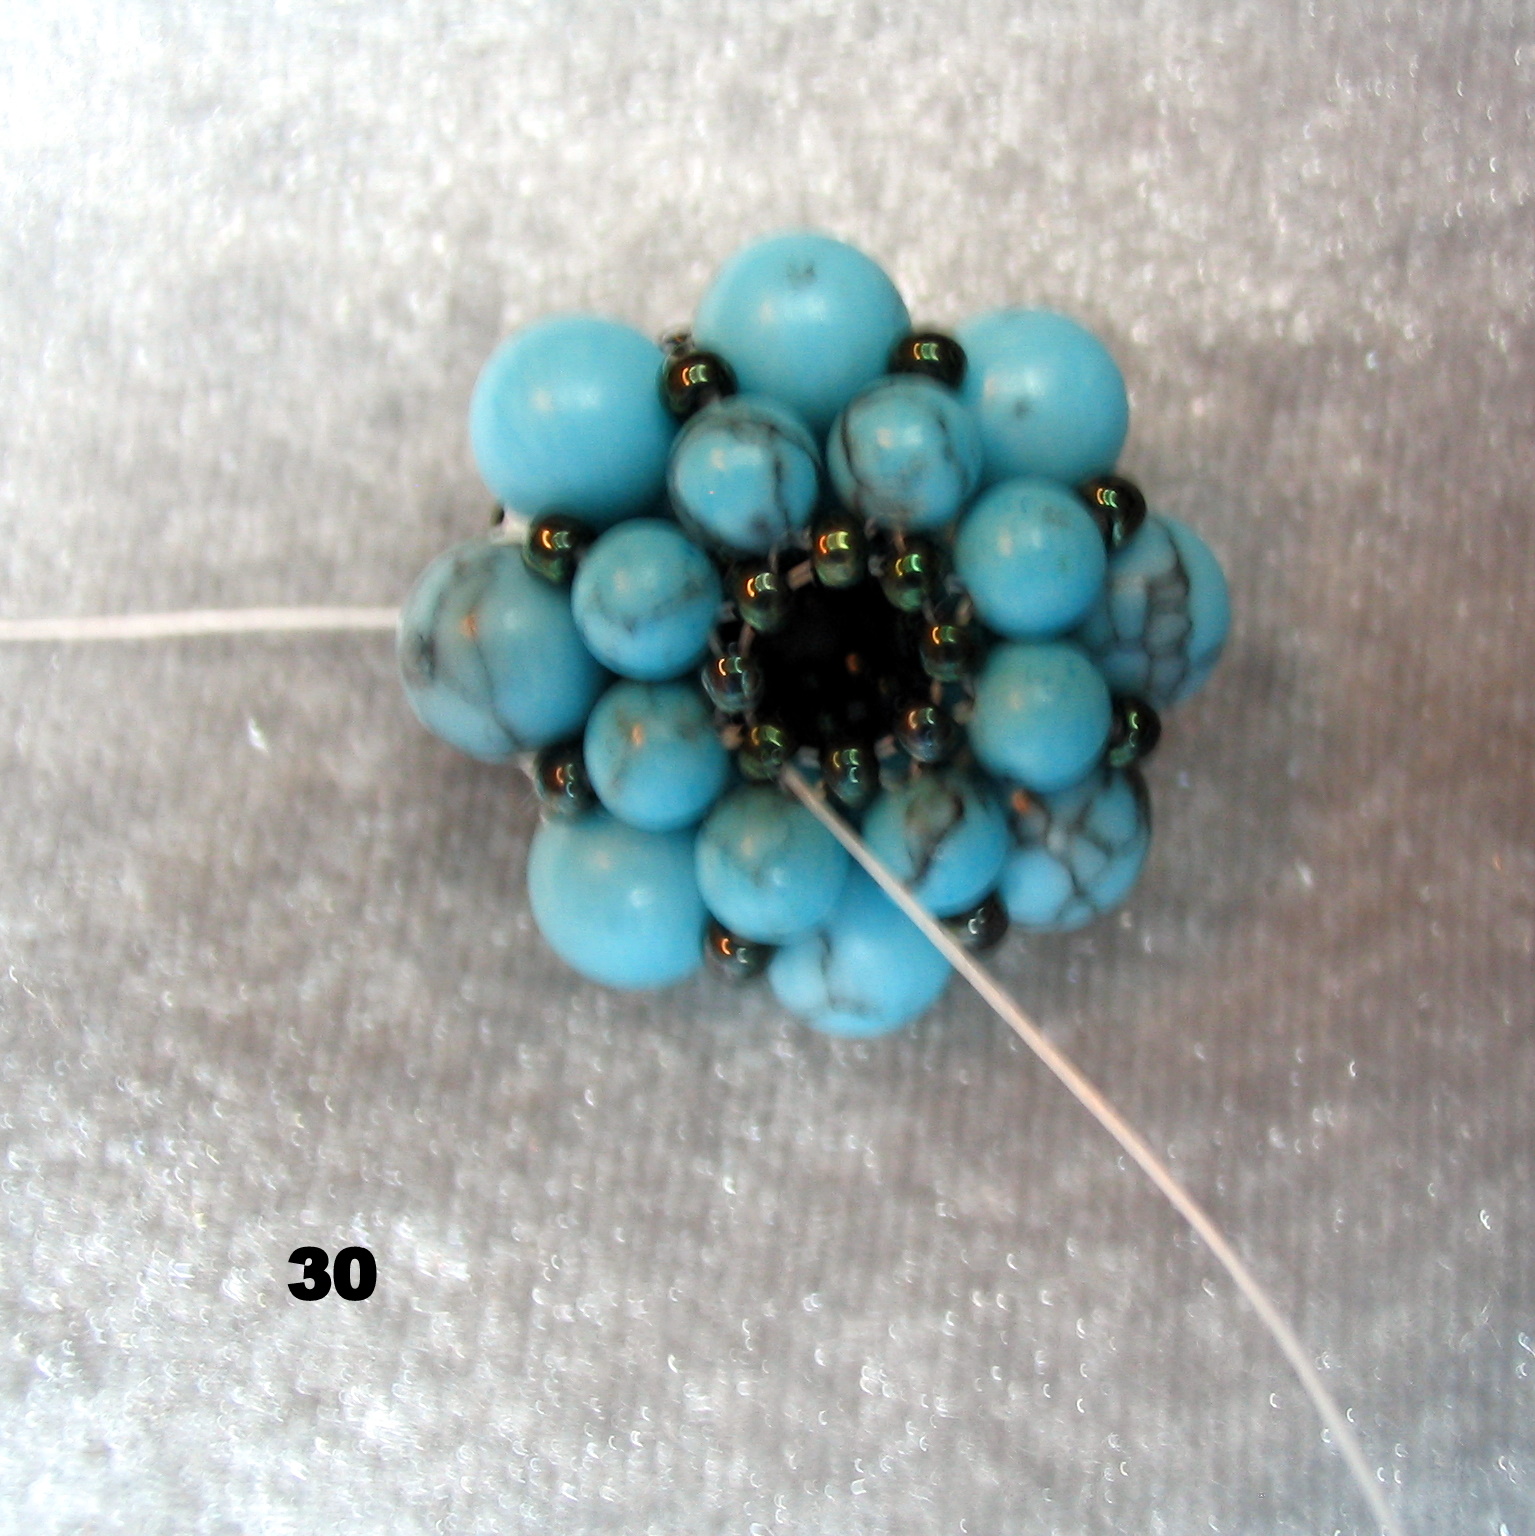
Then up through the 4mm bead and the seed bead of that first group (photos # 28 & 29) putting you into position to begin row 5.
NOTE : as you make this round you will notice a web of thread is formed between the larger 6mm beads. Do not be concerned as this will be addressed later.
Row 5.) This row will be work like row two, the only difference is that row 2 forms a flatter snowflake shape while this row will be pulled up into a cone-like shape.
Pick up 3 seed beads, go back through the base seed bead and then through the next base seed bead. (Photo # 31)
Pick up 2 seed beads pass needle down through the side seed bead of the picot just formed and return through your base seed bead and then over through the next base seed bead. (Photo # 32)
Since you're not working this flat it may be hard to keep track of your base seed beads, be sure to keep track making sure that you've created a picot above 7 of the base seed beads. (Photo # 33)
When there is only one seed bead remaining, the 8th one, pass needle through it and notice that this last bead is flanked on both sides by beads and only needs 1 bead to complete the picot. (see X in photo 34)
Bring needle up through the side seed bead of the 1st picot made (photo # 35)
Pick up 1 seed bead and pass needle through the side seed bead of the last picot made (photo # 36). Now go back through the base seed bead.
You have finished the last picot in row 6, to finish this row off bring your needle back up through the side seed bead of the first picot made and then through each of the 8 center seed beads of each picot. This will close up the final row. (photo # 37)
Work your way down through the seed beads to reach the closest 4mm bead, go through the 4mm bead and the seed bead next to it, pick up 3 seed beads and go across and through the seed bead and 4 mm bead directly across from the beads you've just exited (this will cover up the thread webbing between the larger 6mm beads). (photo #38)
Go through a seed bead next to the 4mm bead to cross over to the adjacent 4mm bead, pass needle down through this bead and the seed bead below it. Pick up 3 seed beads go through the seed bead and the 4 mm bead directly across from the bead you just exited and repeat this procedure until all spaces between the large 6mm beads have been filled in, covering the threads between them. Finish off your thread as you would in any work and cut.
NOTE: Sometimes if the seed beads are too small you may need to either pick out larger ones or add one or two in order to fill in this space.









 Posts
Posts

